How do you cook a perfect omelette?
The quest for the perfect omelette often feels like a rite of passage in the kitchen; it is a simple assembly of eggs, fat, and heat, yet mastering it separates the novice from the truly confident cook. Achieving that ideal texture—creamy yet set, tender, and evenly cooked—requires a careful dance between technique, temperature, and timing, rather than a single secret ingredient. [6] While some cooks prefer the classic French technique, resulting in a pale, almost creamy interior rolled into a neat torpedo shape, others gravitate toward a slightly more set, folded version that might incorporate more browning and filling. [5][9] Both paths lead to delicious results, but they demand different handling of the eggs and the pan. [2]
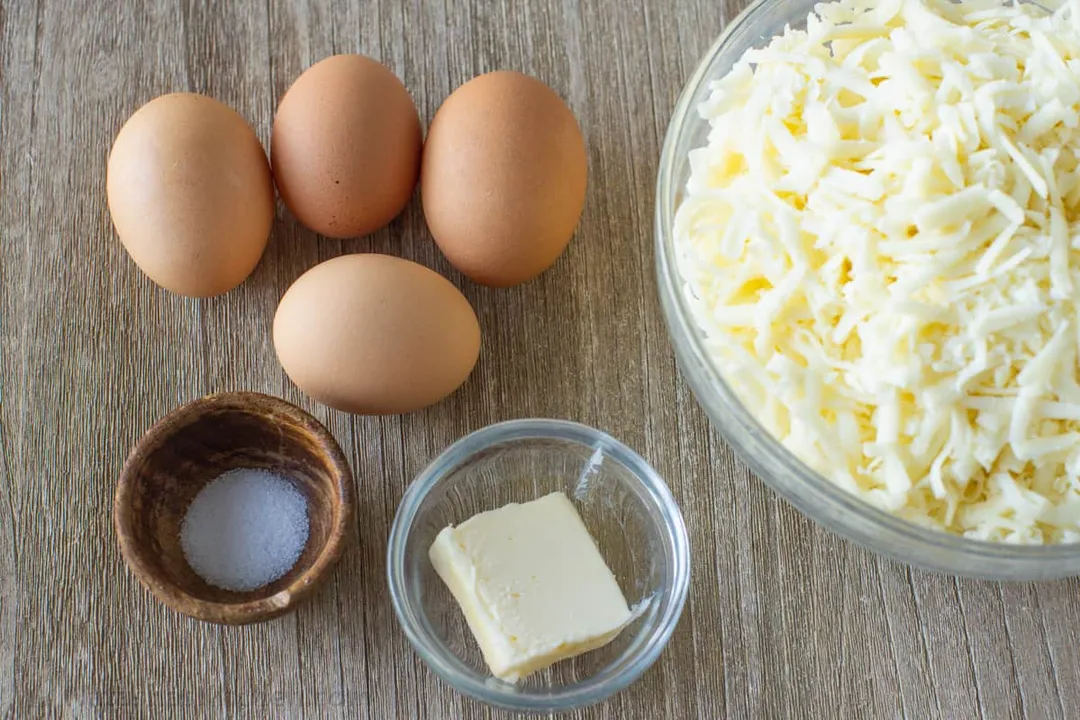
# Egg Ratio
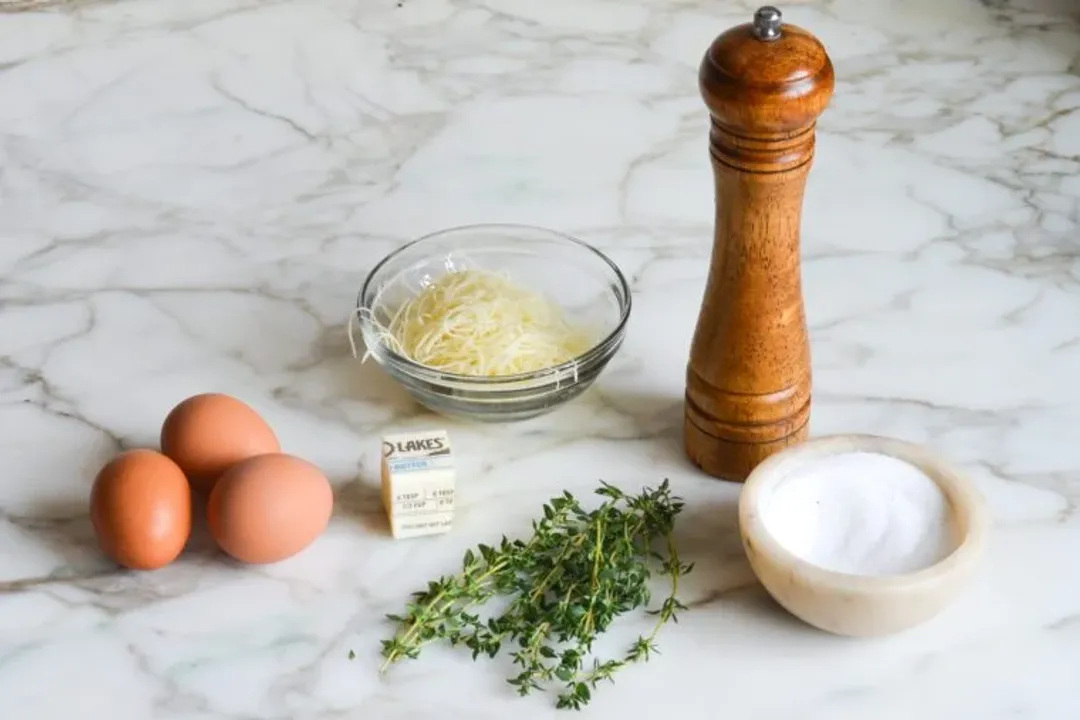
The foundation of any great omelette begins with the eggs themselves. While the number can vary depending on appetite, most chefs agree that two or three eggs make a standard, manageable omelette that cooks evenly in a single-serving pan. [5][6] Using four or more eggs often results in a larger, thicker mass that becomes harder to cook through before the bottom burns, or too large to easily manipulate and fold gracefully. [1] If you are aiming for a fluffier, thicker product, you might lean towards three eggs, whereas a more delicate, single-serving French style often sticks to two. [6]
# Preparation Style
How you treat the eggs before they hit the heat is crucial, and this is where the first major philosophical divide appears. For a truly smooth, homogenous omelette—the classic style—the goal is to fully incorporate the yolks and whites until the mixture is uniform in color and texture, with no streaks remaining. [6] Some sources suggest mixing just until combined, while others advocate for vigorous whisking to incorporate air. [5][8] A key decision here is whether to add liquid. Some recipes call for a splash of milk or cream for richness and tenderness, [1] while others strictly advise against it, arguing that added liquid can steam the eggs, leading to a tougher texture. [2][6] If you choose to add liquid, water is sometimes preferred over dairy because it adds steam for lift without adding extra fat, which can interfere with the setting. [2]
An alternative, often seen in preparations aiming for a slightly more curd-like texture or fluffiness, involves beating the eggs with a fork or whisk until they are very light and frothy, often incorporating a bit of seasoning like salt and pepper right at this stage. [8] If you are adding cheese or herbs, integrating them into the egg mixture before cooking is an option, but many purists save this step for the filling stage just before folding, ensuring the main body of the egg cooks perfectly first. [5]
When deciding on seasoning timing, consider this: salt, especially fine salt, can start to break down the protein structure of the egg if left too long, which is why some chefs salt immediately before pouring into the pan, or even just after it sets slightly. [3] This contrasts with the practice of salting the mixture well in advance, which might be fine for scrambled eggs but can sometimes lead to a slightly watery result in a tightly cooked omelette. [6]

# The Right Vessel
The pan is arguably as important as the egg mixture itself. You absolutely need a non-stick pan, and one that is appropriately sized for the number of eggs you are using. [2][5] For a two- or three-egg omelette, a 7- to 8-inch non-stick skillet is ideal. [1][6] If the pan is too large, the thin layer of egg will cook too quickly and dry out before you can manage the curds or folding process. [2] The pan surface must be completely intact—scratches or worn spots will cause the egg to cling, turning your intended delicate creation into a frustrating scramble. [6]
# Heat Management

This is where the greatest variability in technique occurs, dictating whether you achieve a pale, soft French omelette or a slightly more robust, American-style fold. [9] The general consensus is that the heat must be medium to medium-low. [5] If the heat is too high, the bottom will brown instantly and become tough before the top layer has even begun to set. [6]
If following the French method, the pan is heated with the fat—often clarified butter or a neutral oil—until the fat shimmers, but not smokes. [4] The heat is often kept steady, or adjusted downward immediately after pouring the eggs in. [1] The goal is a gentle, continuous cooking process.
For a slightly firmer omelette, a bit more assertive heat might be needed initially to create a base, but constant vigilance is required to prevent overcooking. [8] Jamie Oliver, for example, emphasizes quick cooking, suggesting the entire process can take under a minute. [9] This rapid cooking requires a slightly higher heat setting than the slow, even cook favored by traditional French technique advocates. [4]

# Cooking Motion
The texture difference between an omelette that is constantly stirred/shaken and one that is left undisturbed to set is stark.
For a classic, creamy texture:
- Pour the prepared eggs into the heated, buttered pan. [1][5]
- Let the edges just begin to set, perhaps for five seconds. [4]
- Using a rubber spatula or fork, quickly push the cooked egg from the edges toward the center, tilting the pan so the uncooked liquid flows underneath. [6] This creates soft, small curds. [4]
- Repeat this process rapidly around the perimeter until most of the liquid egg has flowed beneath the cooked portion, leaving a creamy, moist surface. [5][6] Some suggest shaking the pan constantly during this stage to keep the eggs from sticking and encourage even cooking. [2]
For a slightly firmer, folded omelette:
- Pour the eggs in and allow them to sit undisturbed for a short period, perhaps 15 to 30 seconds, until the edges are set and bubbles start to form on the surface. [8]
- Once the bottom is set but the top is still slightly wet, stop stirring or pushing. [5] The residual heat will finish setting the top, or you can briefly cover the pan or move it off the heat source to let carry-over cooking finish the process. [8]
An interesting divergence appears when considering agitation. The French approach values the rapid introduction of soft curds via pushing and tilting, emphasizing movement. Conversely, some styles, particularly those aiming for a substantial, puffy result, rely on the eggs setting undisturbed, similar to cooking a frittata base, before a final fold. [3] If you are using fillings, this "undisturbed" method allows you to place the fillings neatly down the center before the final fold, whereas the French method often incorporates fillings right into the setting egg mass or spreads them thinly over the surface just before rolling. [5][6]
Original Insight 1: The Butter Barrier Layer
When using clarified butter or oil, ensure you coat the entire bottom and slightly up the sides of the pan before adding the eggs. However, an advanced trick for truly non-stick insurance, especially when working with a pan that is older or only semi-reliable, is to add a tiny pat of cold butter to the pan after the eggs are poured in but before they start to set. As the pan is moved, this cold fat melts and runs underneath the setting layer, creating a temporary, fresh lubricating barrier layer between the egg protein and the pan surface. This is often done while shaking the pan vigorously to break up large curds, aiding in the smooth rollout later.
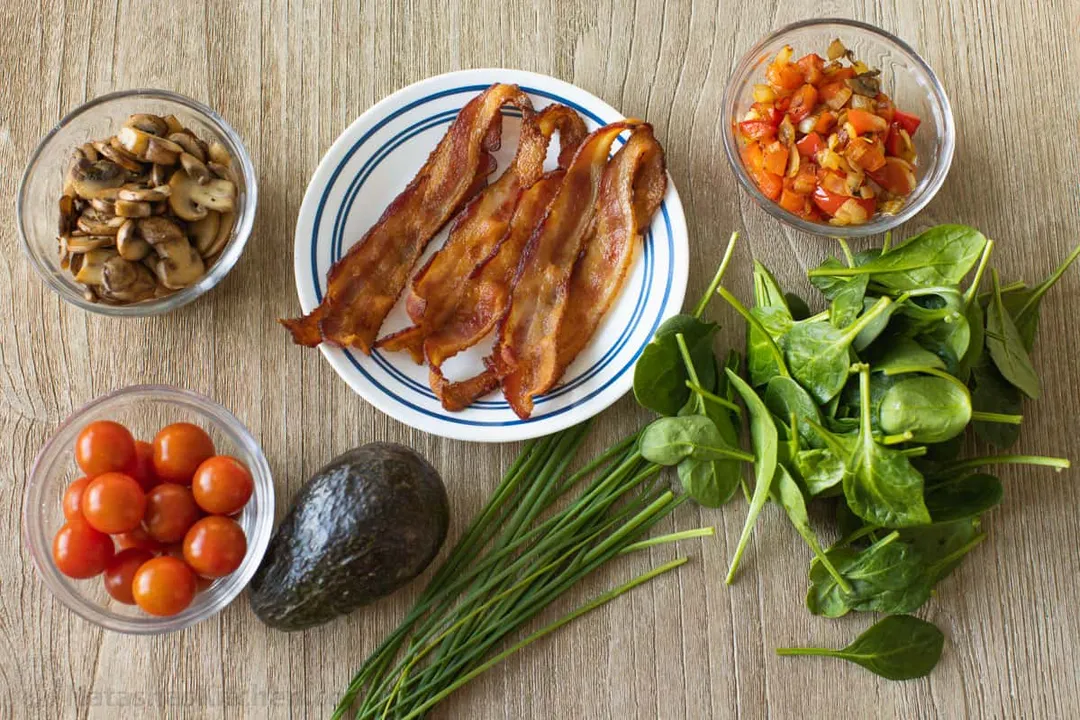
# Timing Fillings
Fillings should always be pre-warmed or cooked, as adding cold ingredients will drastically lower the temperature of the setting egg mass and cause uneven cooking. [5][6] Furthermore, you must use fillings sparingly. An omelette is fundamentally an egg dish, not a wrapper for a main course; overstuffing guarantees a messy, broken fold and a raw interior. [5]
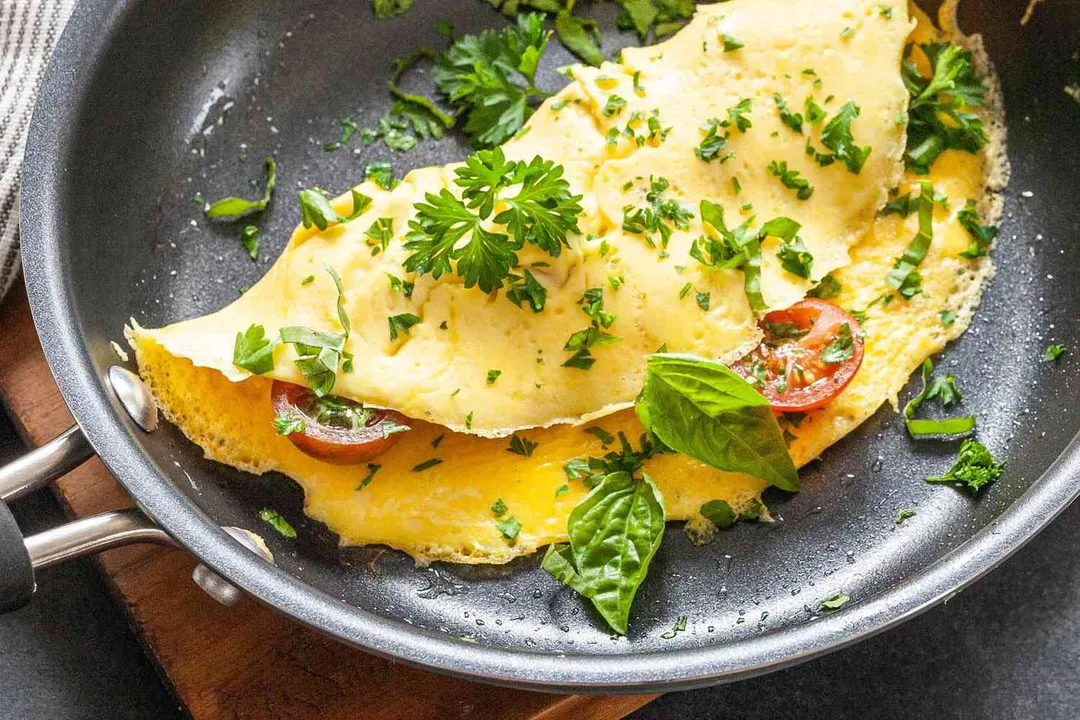
If you are using cheese, it should be grated finely so it melts quickly. [1] The timing for adding fillings is generally: once the eggs are mostly set but still visibly moist on top, but before the final fold or roll. [5] For a French roll, place the filling in a neat line down the center third of the omelette. For a half-fold, place the filling on one half, leaving a clean margin around the edges. [6]

# The Final Fold
The finish dictates the final presentation and texture.
For the classic French Roll (often resembling an oval or cigar shape):
- Once the surface is moist but no longer runny, slide the spatula under one edge and start rolling the omelette over onto itself, using the curve of the pan to guide the roll. [1][9]
- If fillings were used, they should be encased within the first two folds. [5]
- Once rolled, the omelette should be inverted onto a plate, seam-side down, creating a smooth, pale exterior. [6] The goal is a buttery sheen with no browning. [4]
For the Half-Fold (more common in American settings):
- Once the top is set but still slightly soft, place the filling on one side. [8]
- Use the spatula to gently fold the empty half of the omelette over the filled half, creating a semi-circle. [5]
- This method allows for a slightly higher final cooking temperature and can accommodate heartier fillings better, often resulting in a slightly firmer, more golden exterior. [2][8]
Original Insight 2: The Importance of the "Wet Edge" Slide
When preparing to fold or roll, especially the French style, the most critical moment is getting the omelette off the pan base cleanly. Once you have pushed the eggs enough to create the curds and the base is mostly set, you must stop moving the spatula for a second or two to allow a thin, unbroken skin to form on the bottom layer. Then, before plating, vigorously shake the pan back and forth to encourage the entire omelette mass to slide freely. If it sticks, gently slide the spatula under the very edge again to free it. If the omelette is sliding smoothly when you shake the pan, you know the base is perfectly set and has the necessary structure to hold its shape during the final plating inversion or roll. [2]
# Serving Immediately
An omelette waits for no one. As soon as it is plated, it should be eaten. [1][8] The residual heat will continue to cook the center, and if left sitting, the interior will transition from perfectly moist to dry and rubbery very quickly. [6] A perfect omelette is best enjoyed the moment it leaves the pan, often garnished simply with fresh herbs like chives or parsley. [5] The contrast between the pale, tender egg exterior and the warm, savory interior is ephemeral and must be seized immediately.
#Videos
The Best French Omelet You'll Ever Make (Restaurant-Quality) -
Related Questions
#Citations
Perfect Omelette (with Video) - Natasha's Kitchen
How to Make an Omelet (Perfect Step-by-Step Recipe) | The Kitchn
How do you make a perfect omelette? : r/cookingforbeginners - Reddit
The Best French Omelet You'll Ever Make (Restaurant-Quality) -
How to Make a Perfect Omelet | Food Network
How to Make An Omelette - Once Upon a Chef
How to Make an Omelette - Simply Recipes
This is how you make the PERFECT omelette in under 60 seconds...
How to make the perfect omelet! Patience is everything. Can't have ...