How do you cook perfect rice?
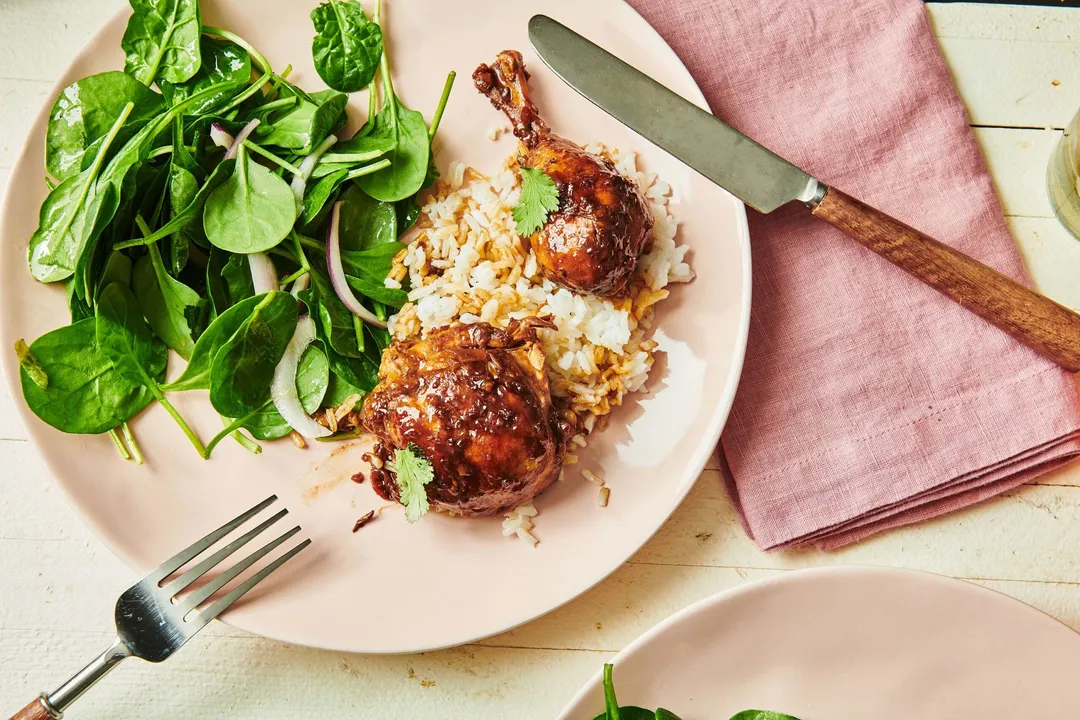
Achieving perfectly cooked rice—where every grain is tender, distinct, and fluffy—feels like a low-stakes culinary Everest for many home cooks. It is the foundational side dish that complements everything from complex curries to simple stir-fries, yet the difference between success and a sticky, mushy mess often seems like a matter of chance or access to a dedicated rice cooker. [3][4] However, mastering the stove-top absorption method is a fundamental skill that eliminates the need for specialized equipment and guarantees consistently delicious results. [4] The secret lies in precision regarding the liquid ratio, strict adherence to the timing, and an unwavering commitment to not tampering with the pot once the process begins. [4]
# Water Ratio Divide
One of the most significant points of contention among rice purists, as evidenced across various kitchen philosophies, is the precise ratio of water to dry rice. [4] You will find strong advocates for two primary proportions for standard white rice on the stove. Some experienced cooks champion a ratio of 2 parts water to 1 part rice. [3][5] This approach often pairs with the practice of rinsing the grains first. [3]
Conversely, other methods, favored for yielding the fluffiest, most separate grains, advocate for a tighter 1.5 parts water to 1 part rice. [1][4] For instance, one popular stovetop method uses 1.5 cups of water for every 1 cup of rice, yielding results comparable to a high-quality rice cooker. [4] When comparing these two common starting points, it becomes apparent that the difference in recommended water volume often correlates directly with the debate over whether or not to rinse the rice before cooking. [4] If you retain any surface starch by skipping the rinse, you need that extra liquid volume to manage the released starch, resulting in a slightly softer, binding texture—perfect for some palates, too gummy for others. [4] If you rinse rigorously, removing that surface starch, the lower 1.5:1 ratio is sufficient to hydrate the grain fully without leaving excess water behind. [4]
Different varieties demand different calculations. For more delicate, aromatic long grains like Basmati or Jasmine, slightly less liquid is usually required, often around 1.25 cups of water per cup of rice. [1] Brown rice, being hardier and requiring more moisture for its bran layer to soften, typically needs a significant increase, moving up to 2 to 2.5 cups of water per cup of rice. [1] For an accurate baseline, always defer to the specific instructions on your rice package, as processing methods can subtly alter the grain’s needs. [1]
# Rinsing Rationale
The necessity of washing rice is perhaps the most hotly debated precursor to cooking it. [4][5] The argument for rinsing is straightforward: swirling the rice in cool water and draining it several times, perhaps until the water appears mostly clear, removes excess surface starch and any potential impurities. This process helps ensure the final product is fluffy and the grains separate easily.
However, a compelling counterpoint exists suggesting that rinsing is entirely unnecessary if the cooking method is precise. [4] Proponents of the no-rinse technique argue that by strictly following the 1:1.5 ratio and never stirring during cooking, the starch does not activate enough to cause gumminess. [4] The only times rinsing is strongly advised, even with the no-stir method, are when the rice has been purchased from an open market and cleanliness is a concern, or for specific dishes like Biryani where a thicker final cooking liquid might otherwise overwhelm the grains. [4] If you do choose to rinse, remember the adjustment: you must reduce your cooking water by about 2 tablespoons for every cup of rice used, to compensate for the water that clings to the wet grains. [4]

# Stovetop Steps
When focusing on the stovetop absorption method, a consistent set of steps emerges as key to managing the water turning into steam to cook the grain perfectly. [1][3]
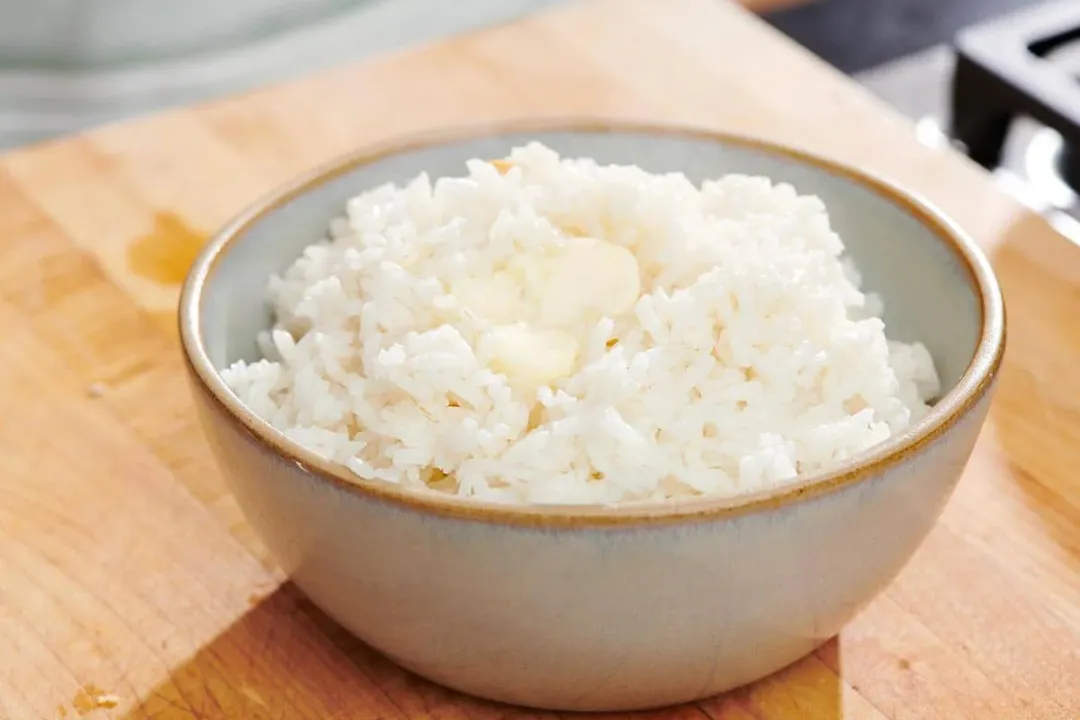
- Preparation: Measure your rice accurately; while measuring cups are best, using the same vessel (a mug, for example) for both rice and water, maintaining the chosen ratio, works just as well. [4] If flavoring, add salt, a small amount of butter, or oil to the cooking liquid. [3]
- Initial Heat Up: Add the rice and the measured cold water to your saucepan—a medium-sized pot with a tight-fitting lid is ideal. [1] Bring this mixture over medium-high heat until it reaches a gentle, rolling boil, perhaps noticing a slight foaming on the surface. [3][4] Some cooks skip bringing the water to a boil first, adding the rice to cold water to let it absorb slightly as it heats, which they feel prevents a hard, crunchy center.
- The Transition: Once the water is boiling, stir the rice once to ensure everything is distributed evenly, especially if you added fat or salt. [3] Immediately reduce the heat to the lowest setting that maintains a simmer—that gentle heat just below a full boil. [3][4]
- The Cook: Cover the pot with the tight lid and do not lift it or stir the rice for the prescribed time, typically 13 to 18 minutes for white rice. [4] The no-peeking rule is paramount because releasing the trapped steam releases the heat necessary for even cooking. [4]
# Heat Management
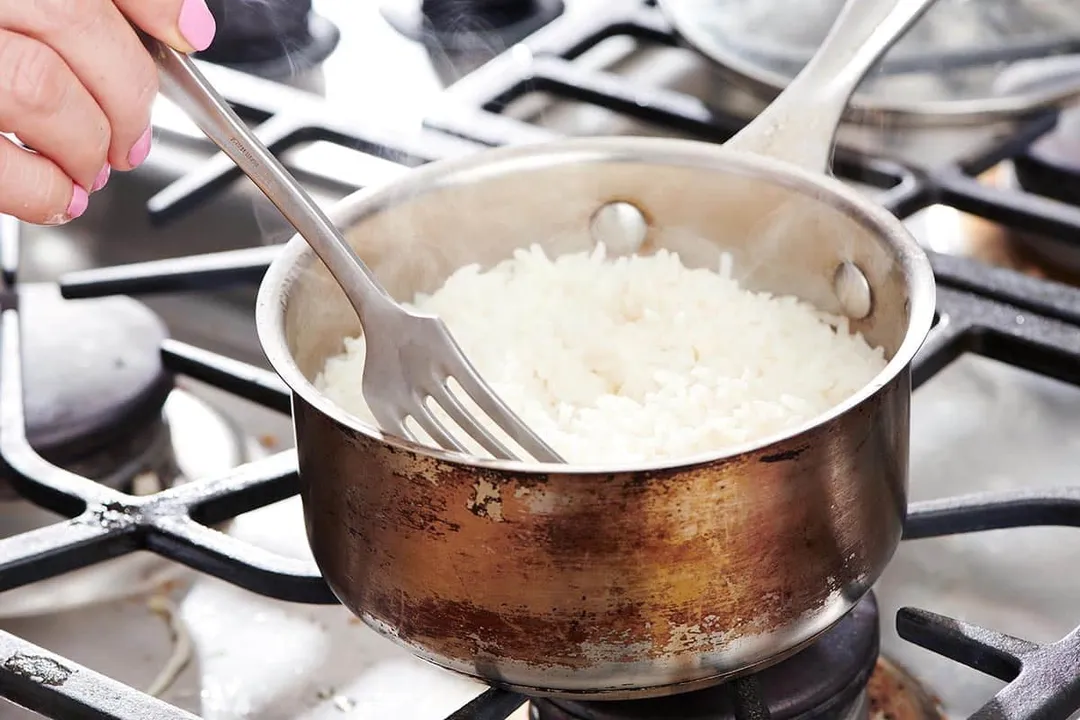
The vessel choice and heat control during the simmering phase are where the quality of the final product is often determined. [1][5] A heavy-bottomed pan, like the stainless steel options often recommended, excels because it distributes heat evenly, preventing localized hot spots that scorch the bottom layer while the top remains undercooked. [1][4]
When cooking only one cup of rice in a massive stockpot, the large surface area of the water allows steam to escape too easily, leading to evaporation before proper absorption. [4] Conversely, a very narrow pot might cause steam condensation to run down the sides unevenly. [5] An important adjustment is considering the pot-to-rice volume relationship: for best results, the rice and water mixture in the pot should form a layer no more than about an inch and a half to two inches deep before heating begins. This provides enough volume for insulation while maximizing heat transfer across the base. [4] Once the heat is lowered, it must be the absolute lowest setting possible that still keeps the mixture gently simmering. [4][5]
# Resting Release
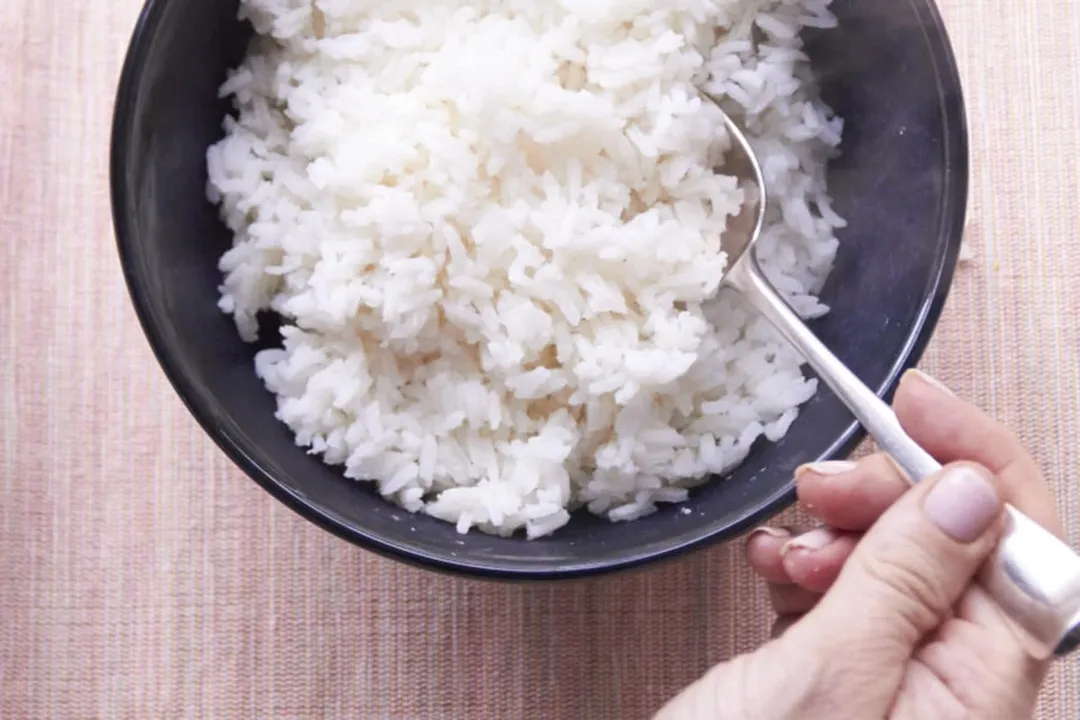
Once the active cooking time (e.g., 13–18 minutes for white rice) is complete, the most common mistake cooks make is assuming the rice is finished when the visible water is gone. [4] The crucial final step is the resting period. [1][3] Turn the heat off entirely, but keep the lid firmly secured, and let the pot sit undisturbed for a full 10 minutes. [4] Some sources allow a slightly shorter rest of 5 to 10 minutes, while one source suggests just a few minutes after turning off the heat. [3] This resting phase allows residual heat to finish cooking any slightly firm grains, and more importantly, allows the surface moisture on the grains to be fully absorbed, preventing a gluey coating. [4] Only after the resting period is over should you remove the lid and gently fluff the rice with a fork or a paddle to separate the grains before serving. [1][4]
# Other Methods
While the stovetop absorption method is often cited as yielding the best results, two alternatives offer convenience when dealing with larger batches or time constraints. [4]
The Oven Method is excellent for making large quantities of rice hands-off. [4] The general procedure involves placing the rice and boiling water in a covered casserole dish and baking it, typically around 35 minutes at moderate heat (e.g., or fan). [4] Using boiling water helps avoid the long period where the oven water struggles to heat up, which can lead to uneven cooking. [4] This method still requires a 10-minute rest after removal from the oven, lid on, before fluffing. [4]
The Microwave Method is the fastest option but may result in slightly less even cooking compared to the stove. [4] This usually involves placing the rice and water (often 2 cups of water per cup of rice) in a tall, microwave-proof container. [4] It cooks uncovered on high for a short period (e.g., 6 minutes), followed by a longer period on medium power (e.g., 8 minutes), and requires a 10-minute rest with the lid on. The tall container is necessary to accommodate the vigorous bubbling during microwaving. [4]
# Fixing Flaws
Even with the best intentions, things can go wrong. Knowing how to salvage a less-than-perfect batch can save dinner. [1]
| Problem | Likely Cause(s) | Solution |
|---|---|---|
| Rice is Crunchy/Hard | Insufficient cooking time or not enough water. [1] | Add about cup of hot water for every cup of uncooked rice used. Cover, steam on low heat for 5 minutes, then rest for 10 minutes. [1] |
| Burnt Bottom | Heat too high, or using a pot too large for the volume. [4] | Transfer the unburned rice to a clean pot. Add small amounts of water as needed and reheat gently. [1] Use a burner with less power next time. [4] |
| Mushy/Gluey | Too much water, or you stirred/peeked during cooking. [4] | If only slightly mushy, spread the cooked rice thinly on a pan over low heat to evaporate excess moisture. [1] For a truly gummy batch, the best use is often converting it to fried rice, as the day-old, slightly dry texture is perfect for that application. [4] |
| Too Salty | Over-salting the cooking water. [1] | Mix the salty rice with a batch of unseasoned rice cooked separately. [1] |
For rice that is al dente—a bit firm, as served in many Asian restaurants—but still too hard for your preference, try adding an extra tablespoon or two of water to your next batch until you find the texture that suits you best. [4] Storing leftover rice is simple: refrigerate in an airtight container for up to 4 to 5 days, or freeze it for 3 to 4 months. [4] To revive refrigerated rice, sprinkle a teaspoon of water over a cup of cold rice, cover, and microwave briefly to reintroduce steam. [4]
#Videos
How to Cook Perfect Rice in a Pot (EASY) - YouTube
Martha Stewart's Method for Stovetop White Rice - YouTube
Related Questions
#Citations
How to cook white rice - easily and perfectly - RecipeTin Eats
How to Cook Perfect Rice on the Stove - The Mom 100
How to cook rice? : r/Cooking - Reddit
How to Cook Perfect Rice in a Pot (EASY) - YouTube
How to Cook Perfect Rice Stove Top Tips - All-Clad
How To Cook Rice Perfectly Every Time - Delicious Meets Healthy
How to cook rice - BBC Good Food